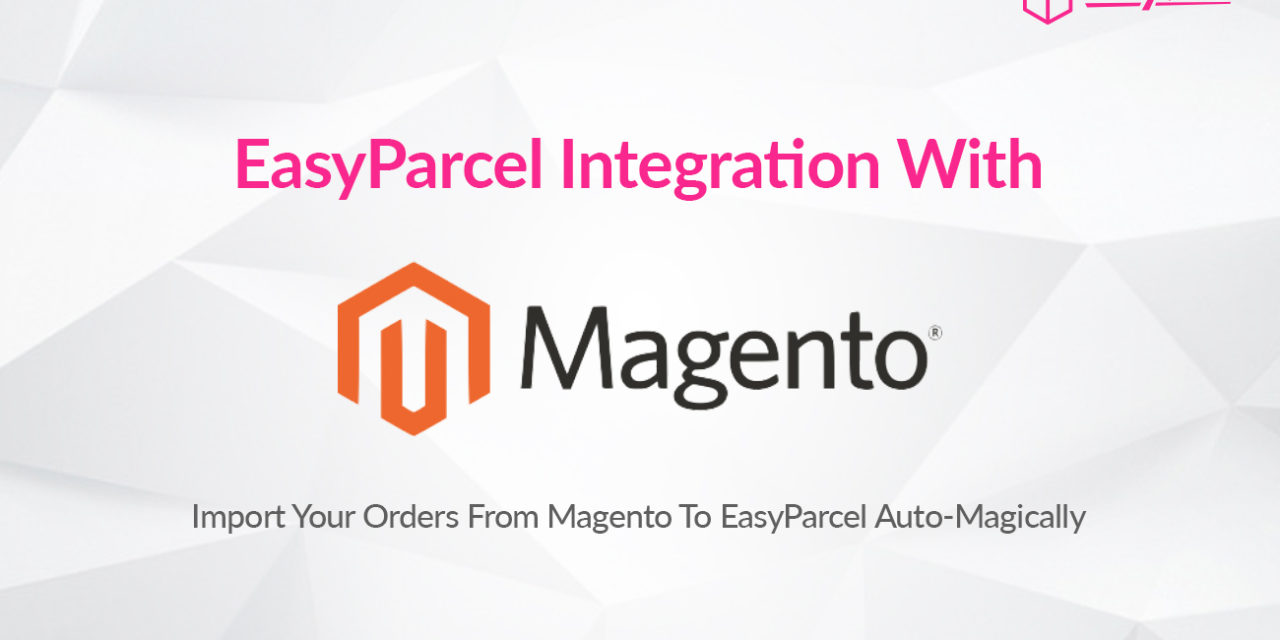

As one of the leading provider of open omnichannel innovation, we’re more than glad to have Magento as part of our integration family. Here’s the step-by-step guide on how to integrate and use it.
Setting Up Integration

Step 1: Click “Integrations”.

Step 2: Click “Add New Store”.

Step 3: Choose “Magento”.

Step 4: Fill Up Details.

Step 5: Download the integration kit and place it to your e-commerce file manager.

Step 6: “Fill Up Details” and click “Submit” and your integration is completed.
Using Integrated Platform

Step 7: Click “Your Stores” and make sure your Magento is “Activated”.

Step 8: Click “Action” > “Import” to import your orders. Your Magento order must be in “Processing” status in your store for the “Import Item(s)” function to work. Orders under processing status will be imported to your EasyParcel account automatically every 4 hours.

Step 9: To forward your order to payment, select your desired order or all order using the check box given.”Do key in your “collection date” and you may choose to “drop off your parcel at Pgeon point instead of to be picked up by the courier”.

Step 10:
Click “Merge Orders” to merge your order if the orders have the same address and you will be directed to payment process.
OR

Step 11:
Click “Add to Cart” and you will be directed to payment process.
* Our integration did not support international shipping yet. Don’t worry. We will announce it via social media and through newsletter once it’s launch. ☺️