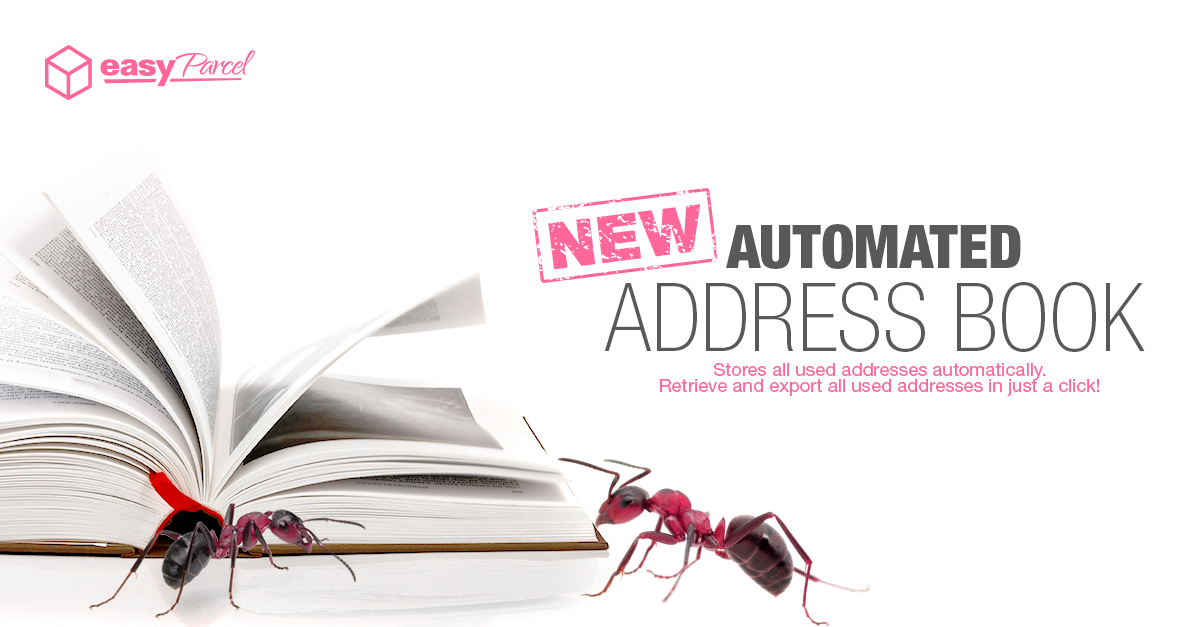

Confusing address book? We have a new version for you that will increase your efficiency in using it. Automated Address Book that will store all used addresses automatically. There are other great features as well so below are the step by step guide to guide you through this new version of Address book:-

Step 1: Login to your account, go to “Dashboard”>”My account”, then click on “Address Book”.

Step 2: Click the “Upload” button.

Step 3: Download the template by clicking “Here”.

Step 4: Fill in the details in the template.

Step 5: Upload the template by clicking “Choose File”.
Step 1: Login to your account, go to “Dashboard”>”My account”, then click on “Address Book”.

Step 2: Click the “Export” button.

Step 3: Your address book will be downloaded.

Step 1: Login to your account, go to “Dashboard”>”My account”, then click on “Address Book”.

Step 2: Select your category from the drop-down list.

Step 3: Insert value in the text bar.

Step 4: Click “Search” and the result will be shown.
Step 1: Login to your account, go to “Dashboard”>”My account”, then click on “Address Book”.

Step 2: Select the amount you want in the “Listing Per Page”.
Step 1: Login to your account, go to “Dashboard”>”My account”, then click on “Address Book”.

Step 2: Click the “Add Group” button.

Step 3: Key in the name of the group.

Step 4: Click the “OK” button.
Step 1: Login to your account, go to “Dashboard”>”My account”, then click on “Address Book”.

Step 2: Select and tick the name you want to move.

Step 3: Click the “Move To” button.

Step 4: Select your designated group.

Step 5: Click the “Save” button.
Step 1: Login to your account, go to “Dashboard”>”My account”, then click on “Address Book”.

Step 2: To deassign the names, simply go to the group.

Step 3: You can select the name you want to deassign.

Step 4: Click the “Delete” button. You can also assign the name into another group by clicking the “Move To” button to move them to another group.
Hope this step by step guide will help you through the new version of address book. If you have any feedback or comments regarding EasyParcel Version 3.3, please feel free to let us know. We would love to hear from you. Thank you.
![[EASYTRACK] Track Your Shipments in Bulk!](https://oldblog.easyparcel.my/wp-content/uploads/2016/09/1300x765-Enhanced-EasyTrack-440x264.jpg)