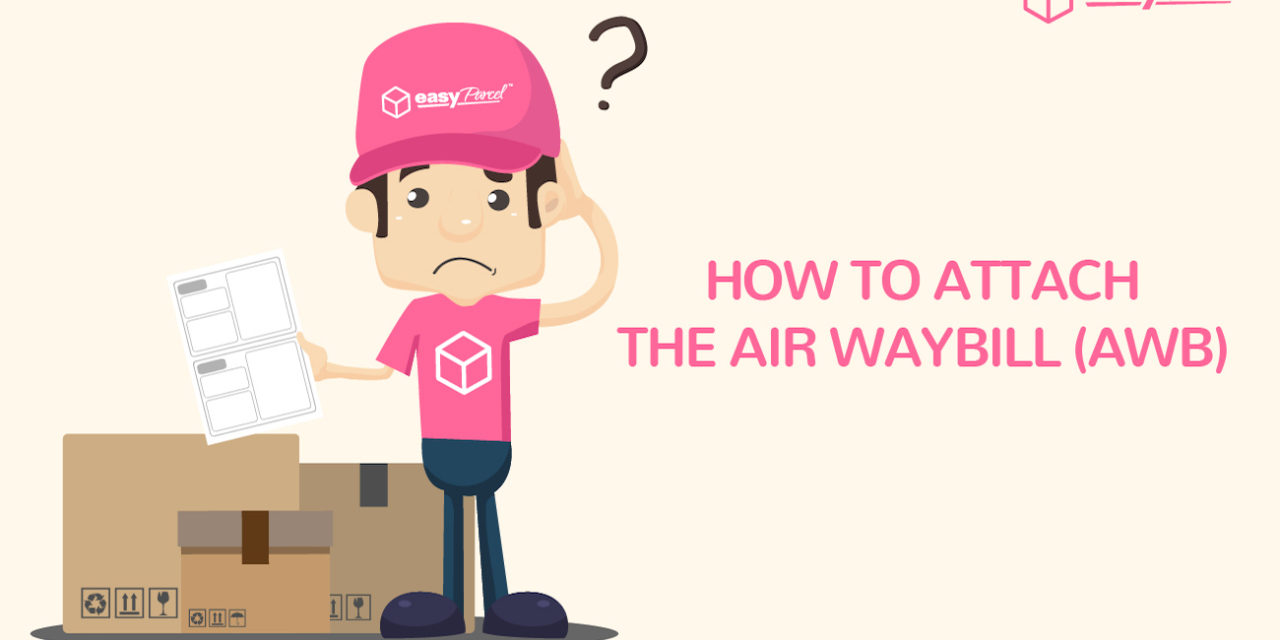
Step 1: There will be 2 copies in the air waybill which is the Center Copy & Receiver Copy.
Step 2: Cut the AWB according to the dotted line.
Step 3: Attach both ply onto the parcel.
You might be wondering why both ply is attached onto the parcel, what about getting signature from the courier when they perform pick up? You can request pink form from the courier or Poslaju branch and have them sign on the pink form as proof of collection. Here’s how you can do it:-
- Write your account number. (May refer back at your Air waybill, “Below the air waybill number”)
- Write down the date.
- Fill in your name.
- Write down the number of parcels.
- Fill in the air waybill number.
- Provide your signature at this area.
- Make sure the courier provide his signature at this area when they perform collection. You will be given back the white piece of the pink form.

Step 1: Make sure the printed AWB for your Skynet AWB is in 2 pieces of A4 papers.
Step 2: Cut the printed AWB into 5 pieces accordingly.
Step 3: Keep the Sender copy and obtain the signature from the courier staff.
Step 4: Arrange the remaining copies with Manifest Copy on top follow by POD Copy, Account Copy and Receiver Copy
Step 5: Get your parcel ready.
Step 6: Place the remaining copies inside the transparent pocket in your flyers.

Step 1: Make sure the printed AWB for your Nationwide AWB is in 2 pieces of A4 papers.
Step 2: Cut the printed AWB into 5 pieces accordingly.
Step 3: Keep the Sender copy and obtain the signature from the courier staff.
Step 4: Arrange the remaining copies with Manifest Copy on top follow by POD Copy, Account Copy and Receiver Copy
Step 5: Get your parcel ready.
Step 6: Place the remaining copies inside the transparent pocket in your flyers.

Step 1: Make sure the printed Airpak AWB are in 2 pieces of A4 papers.
Step 2: Cut the printed AWB into 4 pieces accordingly.
Step 3: Get your parcel ready, keep one of the copy and attach the remaining copies on parcel.
Step 1: Make sure the printed DHL eCommerce AWB is in a piece of A4 paper.
Step 2: Cut the AWB into 3 pieces according to the dotted lines.
Step 3: Get your parcel ready.
Step 4: Keep the Sender Copy and obtain the signature from the courier staff and place the remaining copies inside the transparent pocket of your flyers.
Step 1: Make sure the printed Pgeon AWB is in 1 pieces of A4 paper.
Step 2: Cut the AWB according to the dotted line. Get your parcel ready.
Step 3: Place all copies inside the transparent pocket in your flyers.

Step 1: Make sure the printed ABX Express AWB is in 1 piece of A4 paper.
Step 2: Cut the AWB according to the dotted line. Get your parcel ready.
Step 3: Keep the sender copy and obtain the signature from the courier staff and place the origin copy inside the transparent pocket of your flyers.
Step 1: Make sure the printed Aramex(Domestic) AWB is in a piece of A4 paper.
Step 2: Fold the AWB into half and get your parcel ready.
Step 3: Place it inside the transparent pocket in your flyer.
Step 1: Make sure the printed Aramex (International) AWB and Porforma Invoice are in 2 pieces of A4 papers accordingly.
Step 2: Fill in the necessary details on Proforma Invoice and fold the both AWB into the half. After that, get your parcel ready.
Step 3: Place Aramex (International) AWB and Porforma Invoice inside the transparent pocket in your flyer.
Step 1: Make sure the printed DHL AWB, Proforma Invoice and Authorization Letter for DHL Drop-off Shipments are in 4 pieces of A4 papers accordingly.
Step 2: Cut the printed AWB into 2 pieces accordingly.
Step 3: Get your parcel ready. Kindly take note that do not seal your parcel as DHL require to check parcel content upon drop off.
Step 4: Place the remaining copies inside the transparent pocket in your flyers. Make sure to bring along the Drop-off Authorization Letter upon drop off. Also do make sure to attach along your parcel’s invoice with the AWB for custom clearance purposes.

Step 1: Make sure the printed SF Express AWB and Proforma Invoice are in 2 pieces of A4 papers.
Step 2: Get your parcel ready.
Step 3: Fold the AWB into half and place it inside the transparent pocket in your flyers. Make sure you don’t forget to attach along your parcel’s invoice with the AWB for custom clearance purposes.
Step 1: Make sure the printed TNT AWB and Proforma Invoice are in 6 pieces of A4 papers accordingly.
Step 2: Fill in the necessary details on AWB and Proforma Invoice. Get your parcel ready.
Step 3: Place all copies inside the transparent pocket in your flyers.

Step 1: Make sure the printed SnT AWB are in a piece of A4 paper.
Step 2: Cut the printed AWB into 3 pieces accordingly.
Step 3: Keep the Sender copy and obtain the signature from the courier staff.
Step 4: Arrange the remaining copies with POD Copy on top of the Receiver Copy.
Step 5: Get your parcel ready.
Step 6: Place the remaining copies inside the transparent pocket in your flyers.

Step 1: Make sure the printed Zepto AWB are in a piece of A4 paper.
Step 2: Cut the printed AWB into 3 pieces accordingly.
Step 3: Keep the Sender copy and obtain the signature from the courier staff.
Step 4: Arrange the remaining copies with POD Copy on top of the Receiver Copy.
Step 5: Get your parcel ready.
Step 6: Place the remaining copies inside the transparent pocket in your flyers.

Step 1: Make sure the printed AWB is in 1 piece of A4 paper.
Step 2: Cut the AWB according to the dotted line.
Step 3: Get your parcel ready.
Step 4: Keep the Sender Copy and obtain the signature from the courier staff and place the Origin Copy inside the transparent pocket of your flyers.
Step 1: Make sure the printed AWB is in 1 piece of A4 paper.
Step 2: Cut the AWB according to the dotted line.
Step 3: Get your parcel ready.
Step 4: Keep the Sender Copy (Ultimate’s Copy) and obtain the signature from the courier staff and place the Origin Copy inside the transparent pocket of your flyers.
Step 1: Make sure the printed FedEX AWB and Proforma Invoice are in 3 pieces of A4 papers.
Step 2: Get your parcel ready.
Step 3: Fold the AWB into half and place it inside the transparent pocket in your flyers. Make sure you don’t forget to attach along your parcel’s invoice with the AWB for custom clearance purposes.
Step 1: Make sure the printed CJ Century AWB are in 1 piece of A4 papers.
Step 2: Cut the printed AWB into 3 pieces accordingly.
Step 3: Get your parcel ready, keep the Sender Copy and attach the remaining copies on parcel.
Step 1: Make sure the printed EMS AWB and Porforma Invoice are in 3 pieces of A4 papers accordingly. Then, fill in the necessary details on Proforma Invoice.
Step 2: Cut the AWB according to the dotted line.
Step 3: Keep the Sender copy and obtain the signature from the courier staff.
Step 4: Attach the remaining copies such as Custom Copy, Delivery Office Copy and Recipient Copy on parcel.
Step 5: Get your parcel ready. Make sure you don’t forget to attach along your parcel’s invoice with the AWB for custom clearance purposes.


![[HOLIDAY NOTICE] Selamat Menyambut Maulid Nabi Muhammad SAW!](https://oldblog.easyparcel.my/wp-content/uploads/2017/11/1300X765-prophet-muhammad-idn-440x264.jpg)
![[HOLIDAY NOTICE] Heartfelt Congratulations to His Majesty’s Yang di-Pertuan Agong & Yang di-Pertua Negeri Sarawak](https://oldblog.easyparcel.my/wp-content/uploads/2017/09/1300x765-birthday-agong-440x264.jpg)
